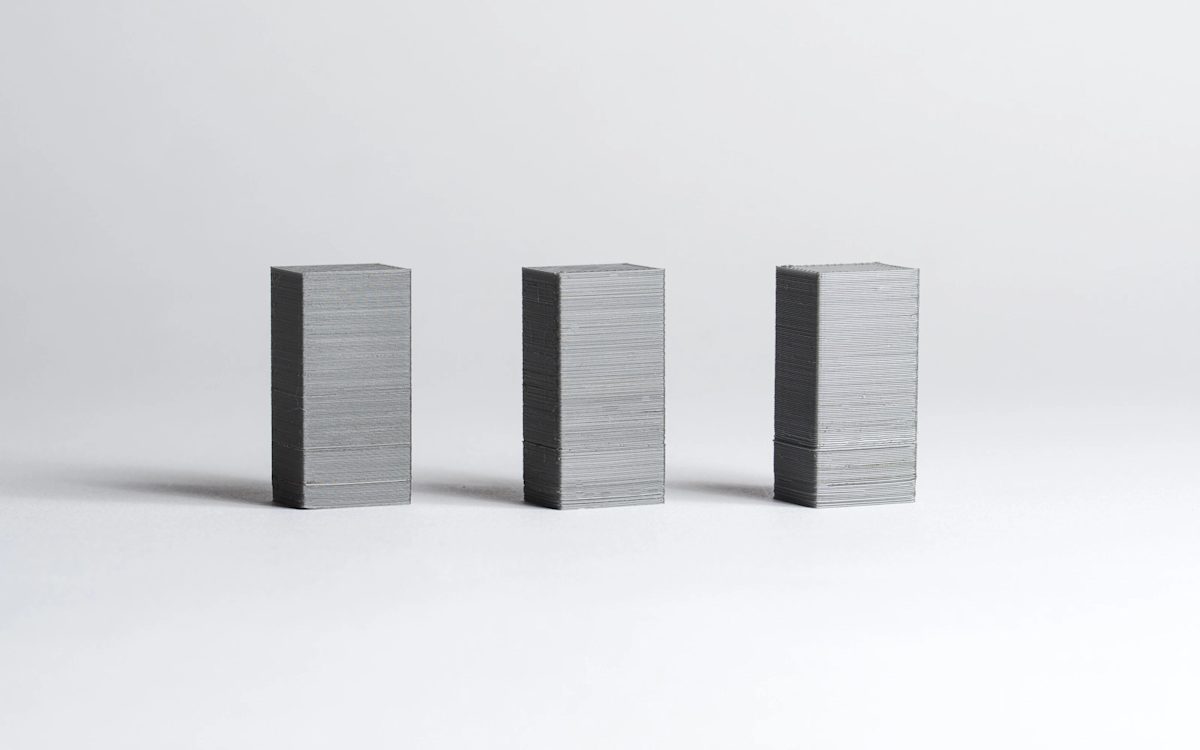
All 3D printing processes build parts layer-by-layer. Due to the additive nature of 3D printing, the thickness of each layer determines the resolution of a print similarly to how the number of pixels determines a television or computer monitor’s resolution.,
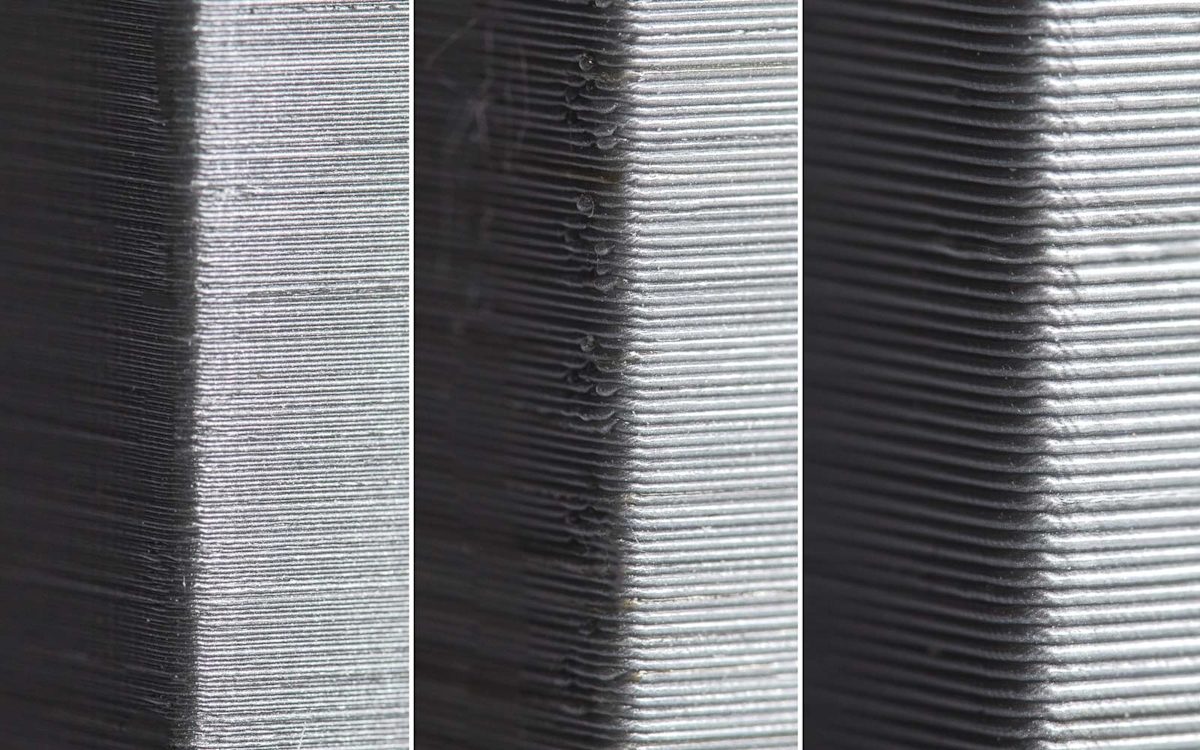
Lower layer height typically results in parts with smoother surfaces. The downside is that the lower the layer height the longer it takes to complete a print.
It is important for a designer to determine whether aesthetics (a smoother surface) or time (and cost) savings are more important. In this article, we discuss the benefits and limitations of using different layer heights in 3D printing.
Why is layer height important for 3D-printed parts?
For some printing processes (such as SLS and SLM/DMLS) defining a particular layer height is not very important, as their default resolution is already adequate for most applications. Or, in some cases, the layer height is already pre-set by the manufacturer.
For other processes (such as FDM and SLA), selecting your layer height is an important design parameter that impacts the printing time, cost, visual appearance and physical properties of a printed part.
Often the visual difference between parts printed at 100 μm and 200 μm is very small. However, the part at 100 μm will take twice as long to print (the 3D printer will have to trace twice as many cross sections) and this will have an impact on the cost.
What is the typical layer height for different 3D printers?
The table below summarizes the typical—or standard—layer height for each of the most common 3D printing processes:
How do you know the right layer height for your 3D printing application?
Before selecting a layer height, it’s essential to consider the following questions:
-
Does your 3D model have curved surfaces or holes?
-
Is functionality or visual appearance the main design consideration?
-
Will the part be finished after 3D printing and before use? Will it need additional post-processing?
How does layer height impact parts with curves and angles?
The impact of layer height is more noticeable on curves and angles and is less prominent on straight vertical walls, due to the layer-by-layer nature of 3D printing.
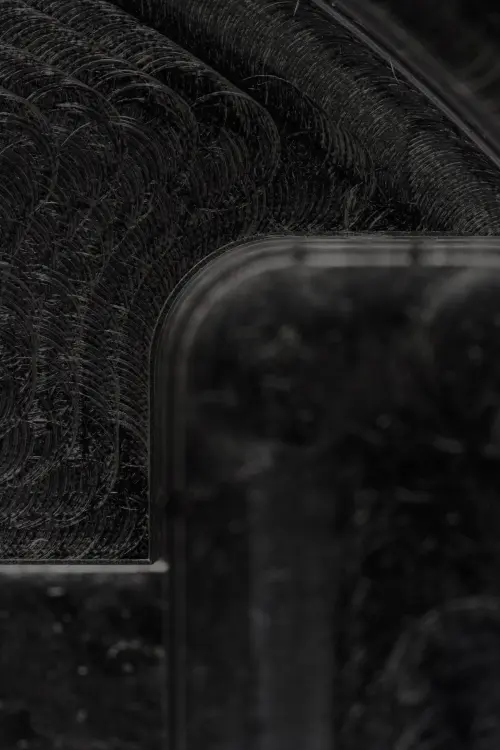
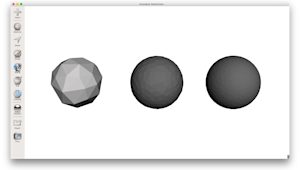
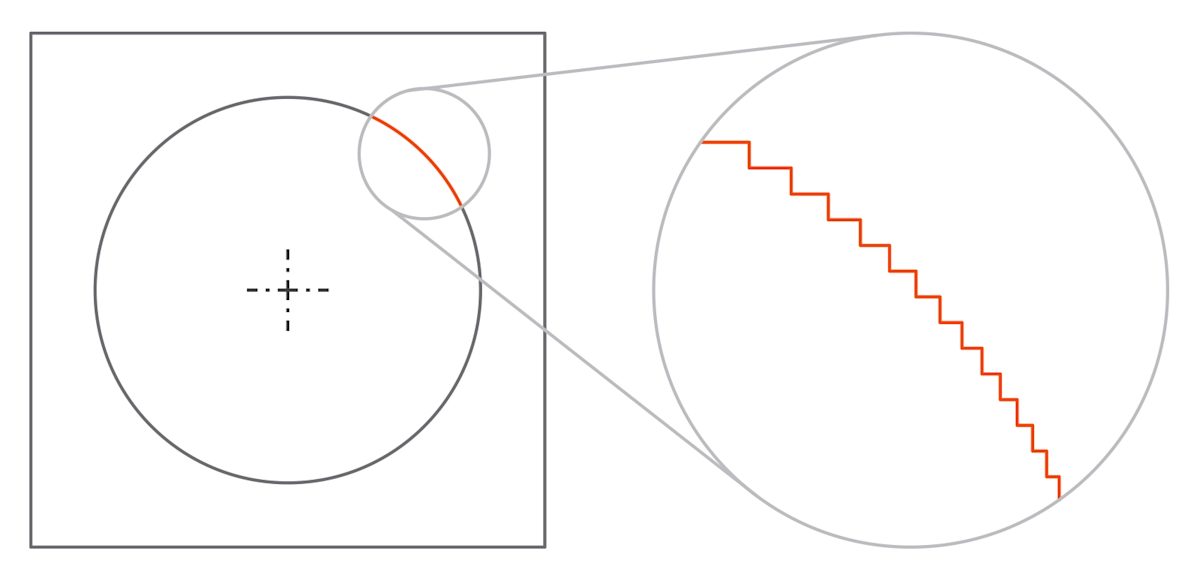
For example, in order to print a hole along a horizontal axis, the printer software has to slice the circular hole into multiple layers and then stack them on top of each other, creating a non-smooth edge that looks like a staircase. This is called the stepping effect and becomes more prominent on surfaces with greater curvature.
If a design includes a significant number of curves, angles or holes, using a lower layer height will result in a more accurate part.
How does layer height impact cosmetic quality and functionality?
Layer height will have an impact on the vertical resolution of the part, affecting its smoothness. If visual appearance is your main concern, then selecting a lower layer height is ideal, as it will result in a smoother finish.
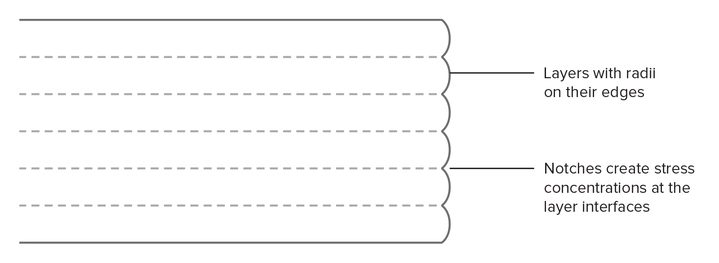
On the other hand, when 3D printing a functional part, using a higher layer height is preferred, as it will result in time and cost savings and improved mechanical performance. For instance, FDM parts printed in PLA at a 300 μm layer height have approximately 20% higher strength than parts printed at 100 μm.
How does layer height impact post-processing for 3D printing?
When deciding on a layer height it’s also important to consider whether the parts will be post-processed. A higher layer height may be a better choice if the part is going to be sanded, acetone smoothed or painted.
What are Protolabs Network's top tips and tricks for selecting layer heights?
Selecting the right layer height for your 3D-printed parts is not always a make-or-break choice, though it's definitely an important factor to consider. Here are a few handy pieces of practical guidance to follow the next time you're selecting layer height.
-
Select a lower layer height for parts with curved surfaces or when cosmetic quality is important
-
Printing a part with a higher layer height is faster and more cost-effective and will result in parts with improved mechanical properties
-
If the parts will be post-processed, layer height is not nearly as crucial, thanks to the cosmetic and functional benefits of post-processing methods
Curious about the impact of layer height on your custom 3D printed parts?
Explore our 3D printing service Upload a CAD file for a free, instant quote
Frequently asked questions
Is there a standard layer height for 3D printing?
Every 3D printing technology produces parts with a typical or standard layer height. For instance, FDM parts tend to have layer heights ranging from 0.05 mm to 0.4 mm, with the most common being 0.2 mm.
Does layer height affect the quality of 3D-printed parts?
While layer height does directly affect the quality of 3D-printed components, there is an interesting tradeoff when it comes to print speed. If your part has thicker layers, a printer will generally be able to produce the part faster. However, these same higher layers will result in your part having lower resolution and overall decreased quality.
Are 3D-printed components with lower layer height stronger?
In most cases, layer height doesn’t impact the strength of 3D-printed parts. If your layer height is quite thin, your part will contain more extrusions of material, however, each strand will have a smaller cross-section. On the flip side, taller layers have thicker material extrusions.
